Showing posts with label motorcycle trailer build. Show all posts

Sunday, May 26, 2013

Harbor Freight trailer build, Alum Line box

The aluminum box arrived today, I ordered it from Alum Line, located in Cresco, IA.  It took about a month, maybe just 3 weeks, and they delivered it today....for $50.  Delivery meant that I didn't have to pay $43 to IA for sales tax, so that turned out ok.  Saved 3 hours and 3-4 gallons of gas, assuming I would have taken the bike and trailer to pick it up.

First thing to do is to remove the bolts on the top of the frame so the box can sit tight to the frame and also have bolts and holes to secure it.  Measure, mark, remeasure, check, test, measure and check it some more before using my center punch to start the holes.  I used my electric drill to drill a pilot hole while the cordless drill's battery charged...it has a 1/2" chuck so I can use the 23/64" bit.  The bolts are 10 mm, which is of course larger than 3/8", blah blah blah.

I don't yet know if the bolts are long enough, they were sized to bolt the frame together and not to add the box as well as a washer.  So I'll probably use slightly longer 3/8" bolts, and enjoy the extra large holes to line things up.

As expected, nothing worked as planned.  Only about 2 holes line up, we forced some bolts in, but the box is a little twisted, so I'll pull out the bolts and ream the holes so that it'll be straight.  

When that is done, I'll get down the grey outdoor carpet and measure, measure, measure and then cut.  Then I'll test fit, cut, test fit, cut, test fit, cut, start over.  Eventually I'll glue it on the sides, but will likely leave the piece on the floor loose so it can be removed, replaced, cleaned, etc.

Sounds like fun, huh.

Yeah, I can't wait.

It needs to be done, though, because it's been my experience that whatever rubs on aluminum turns black.

Black is where it's at.  Once you go black, you never go back.  Black is the new red.  Back in Black.  
Screw that.

I want the crap we put in the wagon to remain as purty as when we put it in there.  How purty is that?  Honestly, not very, but the AL staining is worse.  I also want the crap to stay in one or 2 places, I don't want it sliding or rolling around.  The carpet will help with this.

Remember when we stopped at Harbor Freight on Easter?  Yeah, we bought a spare tire with a coupon and some cash, so I need to mount that thing somewhere.  Easiest thing to do is to use a stub of threaded rod bolted to the frame to hang it.  We'll see how that holds up; it's cheap, at least.

Ready for some pics?
 Drilled from the outside in, we're left with a sharp burr that has to be removed.
 Yep, did a crappy job painting.

Should hold all of our crap, I think.  need to make a tongue stand to hold it up level when parked, I think maybe a bumper of some sort, so I can stand it on end when not in use.


Sunday, April 14, 2013

motorcycle trailer build

Picture time
 Lots of stuff in this pic:  New Glarus beer, a Proto 5# dead blow hammer that was my reward for perfect attendance in diesel mechanic school in '87-'88, the augmented sawhorse platform, the black and red of the trailer frame, a hint of the stepladder I picked up off of the highway in the mid '90s, the tail of my RoadStar and of course, some wrenches.
 A danger/warning label in the trash, where it belongs.
 I was very happy that the tires are King brand.
 Taking apart the leaf springs, the bent steel is the bracket that I had to bend with the pliers to separate the 3 leafs.   I had to take the bolt from the center and put it back into the single leaf, the round head acts as a centering pin for the axle. 
DIY wiring harness plugs and home made tools to remover the various spade/bullet/pin connectors from the varied plug bodies.  Just take a piece of wood, hammer in a finish nail, hammer down the end about as thin as you need and then grind/sand/file it to the shape that will work.  Carve/sand the handles for comfort.  You can see that some of them are double ended.

I crimp and then solder the wires, because I occasionally like to be redundant and do the same work twice.

You can get those plugs in 2, 3, 4, 6, and 8 connector configurations, but if you only have 5 or 7 wires, you can of course, leave one empty.  I think I got them at Vintage Connections.com.  Oddly, the locking shells are less expensive than the non locking shells.  

As soon as we're strong enough, we're going out to take it off the supports, turn it over onto the wheels so we can measure for the height of the box.  You know I'll let you know how that goes....Wish us luck.


Saturday, April 06, 2013

motorcycle trailer build

Assemble the frame day.  (Before Easter) I carried the frame rails, the tongue, axle and cross members out of the basement, stacked them on the recycle bin while I dug out the saw horses and enhanced their stability and size.  They're the fold up bracket type that have lived outside much of their life, and they must be 10-12 years old.  I used scrap wood/plywood to make stringers to keep them from wobbling, and some of those have rotted away, it's clearly time to remake them.

But not today.  I got down a couple of barn boards that I had used to build 2 different entertainment centers, one in 1989 and one in 1993.  I used some screws to fasten the boards to the 2x4 that is the top of the saw horse so they would be long enough and wide enough to put all the parts on for assembly.

I laid out the frame rails and cross members and began bolting them together.  One thing I hate about metric bolts is that the bolt head and nut are often different sizes.  In this case, the bolt heads are 16mm and the nuts are 17mm.  This is good if you only have one set of wrenches, I guess.

I then bolted on the spring brackets and then addressed the springs.  The trailer is rated for 1070#, but I don't expect to ever load it past 400#, so I removed 2 of the 3 leaf springs, hoping to minimize bounce and it should also lower the trailer a little bit.  It's not too hard to remove those leafs, simply clamp the the springs in the vice, bend the clip that holds the 2 small leaves to the large leaf so they will separate and then unbolt the middle bolt that holds all 3 together.  They don't paint the leaves separately, so the long one is already a little rusty, it's now in the basement with a coat of primer on it.  I'll squirt some black on them before bed.  The spring brackets come silver and not painted at all.  I don't know why.  The spring mounting bolts come with a regular nut and are drilled for a cotter key.  Why not just send nyloc nuts?  

Another way to make the trailer lower is to mount the axle on top of the spring instead of under the spring. It took a while for me to visualize that, and I'll post a pic when I've got that done.  Yeah, never mind all that...because when the axle is on top of the spring there isn't room for the fender.

Had some fun when I was ready to put the wheel on the axle...it wouldn't.  The bearing wouldn't slide on the spindle.  And then when I gave up putting it on, it wouldn't come off.  Wound up ruining the seal, returning/exchanging the axle, and starting over.  4/6  Sadly I did not realize that I had ruined the seal until today, when no replacements were available, so the frame has one wheel on, and one wheel off.

I started on the electrical tonight, first mounting the front marker lights, which ground via the mounting screw.  I may take them back off and add a ground wire for each light.  The wiring harness has just a short wire to ground to the tongue, and I think I want to ground each light.  So I spliced on a wire as long as the other wires before sliding on the wire loom stuff, woven nylon sheath, it's magical stuff.

I will post some pics, I promise.

Monday, February 11, 2013

Motorcycle Trailer build

Since we desire to haul a lot of crap when we go on a vacation, we decided to get a trailer to pull behind my motorcycle.  

A nicer way of phrasing it might be:  since I'm a fat bastard, my clothes take up a lot of space, more than my saddle bags can handle.  Therefore, I need a wagon.

There are lots of them, ready made, ready to go.  They are also very expensive and that's just too easy for me.  Sometimes it sucks being a diy sort of guy, enjoying building stuff is nice, but also exhausting.  

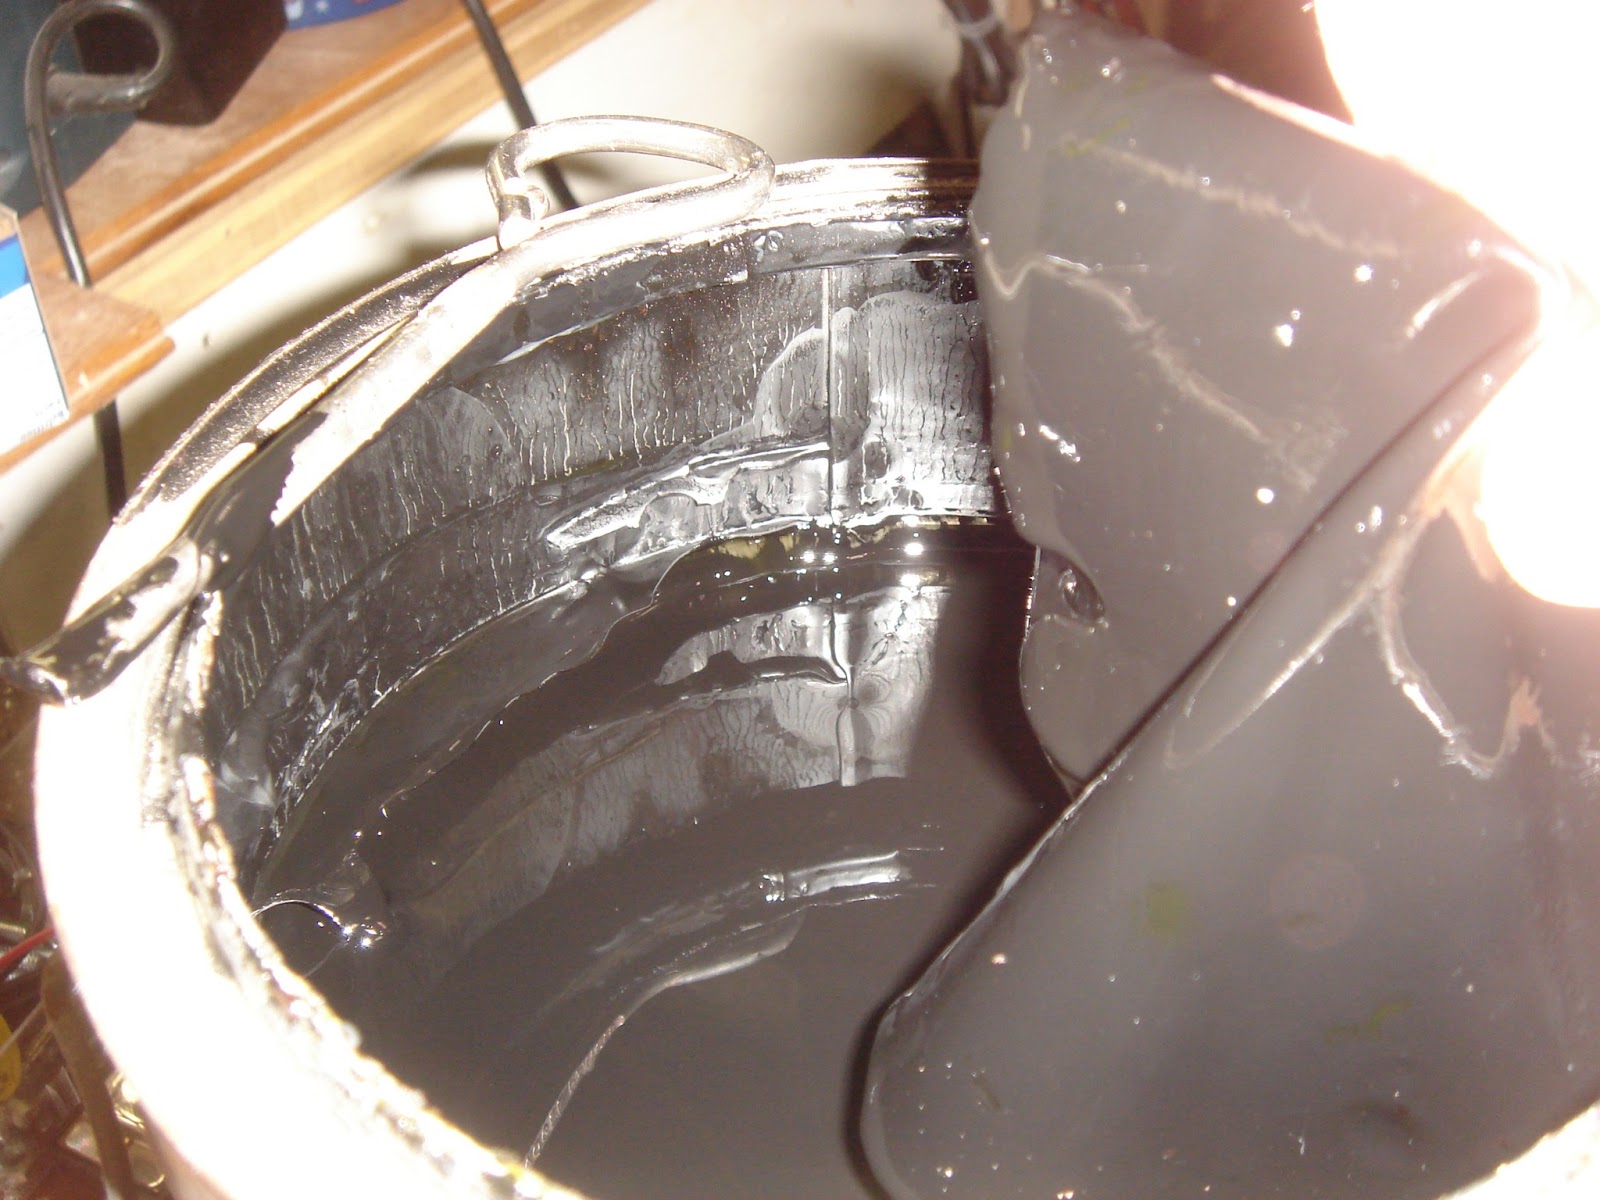
Here's what I'm doing.  I bought a trailer frame from Harbor Freight, got it on sale with a 20% coupon, $177.  It's red except for the rims, which are white.  Our bikes are blue and black, so I've decided to paint the exposed parts of the frame black.  Why not paint all of the frame black?  Lazy.  No, actually I figger if a passing motorist sees a flash of red in the all the black, it maybe the saving aspect.  I've got a can of black paint that was new in the 90's, I used some of it on our repurposed pipe hand rail last summer.


Isn't it cute?  40" wide, 48" long.  You can see that the fenders are black already, too.  I wonder if I'll want a longer tongue, sort of like that guy from Kiss.  No, no not that kind of tongue.

I sanded the red paint with 150 grit aluminum oxide sandpaper.  2/3 of a sheet folded into thirds, only took one side to sand 2 sides of the front and back pieces, 2 sides of the side pieces and 3 sides of the tongue piece.  The axle comes black, but that paint is already scuffed, so I'll sand it and paint it too.  I clean the sanding dust off with a rag soaked with alcohol and will brush  the paint on with a cheap disposable bristley brush.  The paint has been in the garage since 1995, so it'll take a few minutes to warm up, I don't know if I'll get the paint applied tonight or not.  


I plan to tape some paper on top of the table saw and will use some small bits of wood to hold the steel above the paper.  I'll probably apply 2 coats and between coats will put the brush in a plastic sack, wrap it up good, and put it in the freezer.  This keeps the brush usable for both coats without cleaning. 


Sanded and tags taped.  It might have been easier and faster to unrivet them, but we'll never know now, will we?

Why not use a spray can?  Several reasons.  

  1. It's winter, and I don't want to do that much spraying in the house...it goes all over and the furnace would suck some in.
  2. I'd have to buy a couple cans while I already possess this 3/4th gallon of gloss black.  I'll lose more paint to the skin on top of the paint than I'll use on the steel.
  3. I think brushing puts a better coat on the item.  If it were round or intricate, I'd be spraying it
Why wipe the steel with alcohol?  It cleans off the dust, it cleans off any other dirt, oil, grease, wax, other goobers or snot.  Alcohol is cheaper than xylol or lacquer thinner, doesn't leave a film like paint thinner would, and is safer to use in the house than those first couple.  MEK and acetone would also work, but they also stink and are dangerous to use.  Also more expensive.


yep, another coat is in order.  This pic was taken when the paint was very fresh, it'll level out some, but not that much, of course.  It'll be a couple days before I assemble the pieces, but stay tuned for bearings.